¶ Creating Subtasks and Assigning Executants
Once you created a project and added users to your universe, you can start filling your projects with needed information: task definitions, assignment of executants, etc.
Every project in the universe represents a tree of subtasks, with the root being the project itself (a zero level task) This task has the same attributes as any other task, including message board, start/end dates, status, executant list, etc.
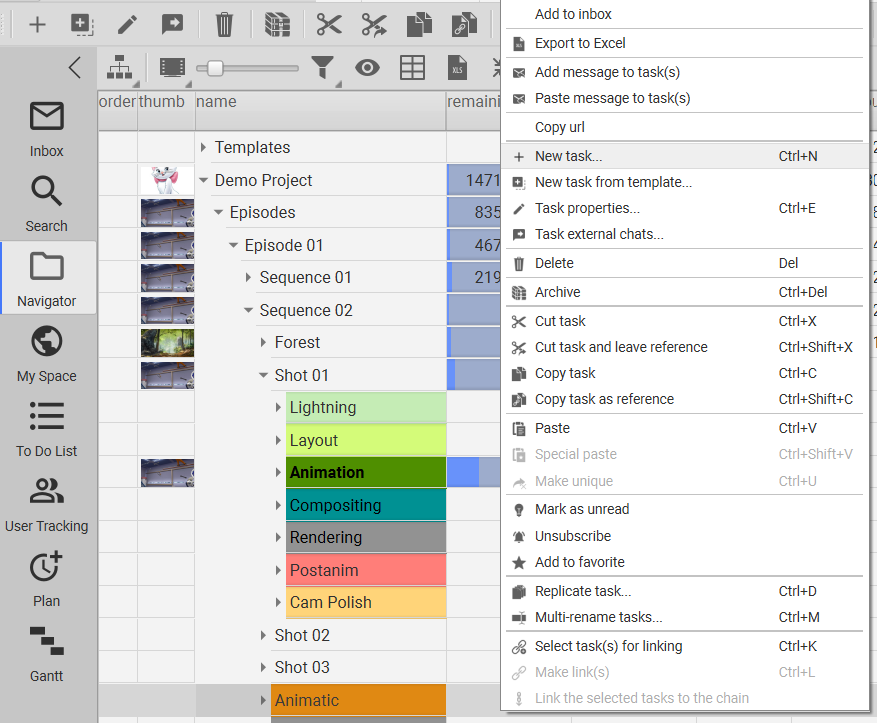
You can create a subtask by doing the following: first, define a parent task (this can be either a root task, or any of its subtasks), select it in Navigator list, use New task command from either context menu or tools panel.
After that you can type task’s attributes in the pop-up window.
Following are key attributes, that are required:
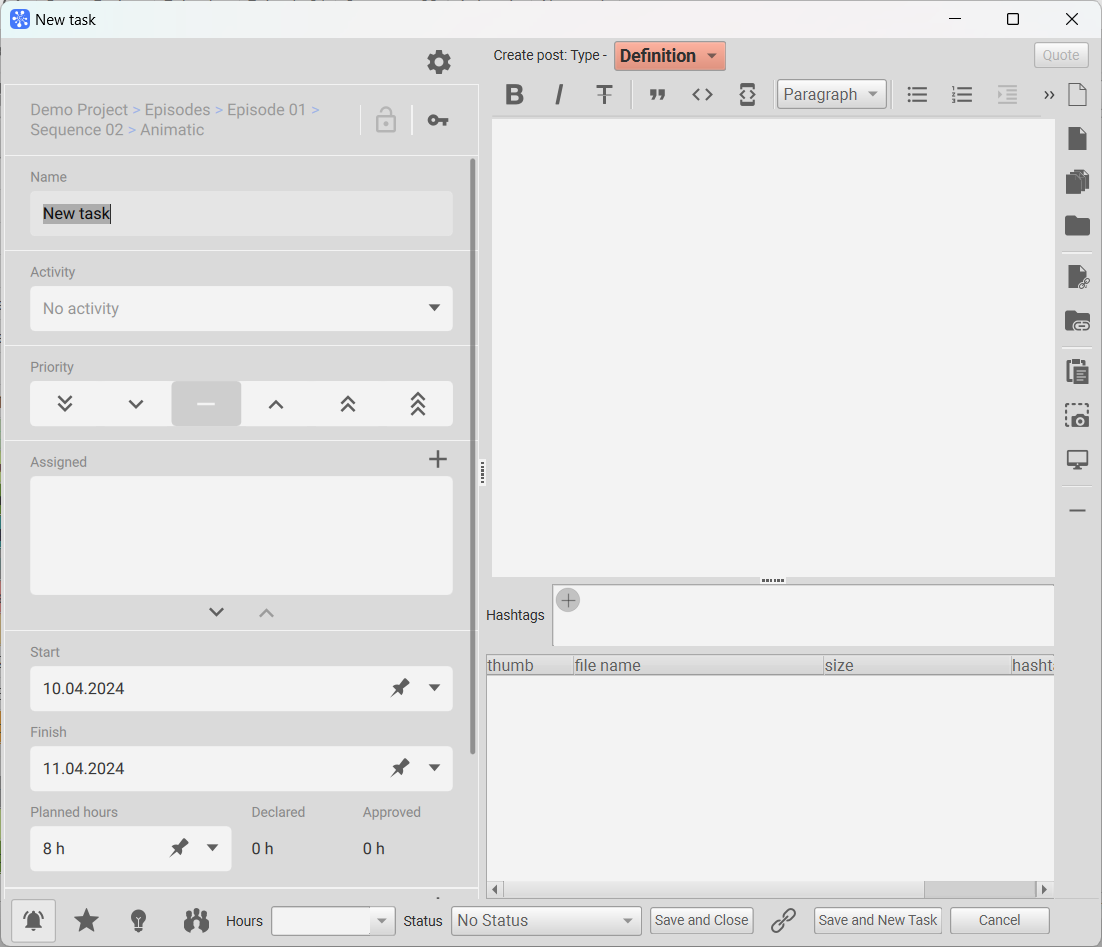
- task name;
- executant list (managed by adding users to Allocated list “<<”, “>>”);
- task definition;
- attachments (buttons to attach files/directories are located at vertical panel to the right of task definition).
You can also modify any additional task attributes:
- priority;
- activity;
- time characteristics, etc (for more information, see Task properties).
When you are ready to send the task to Cerebro, press Send button - and a new task will appear in task tree. Allocated executants will automatically receive an e-mail notification.