¶ Plan
The Plan tab allows you to view and edit the task plan for employees, control workload, and track hours.
The workspace is divided into two windows:
- Employee list — all users registered in the system;
- User work schedule (calendar).
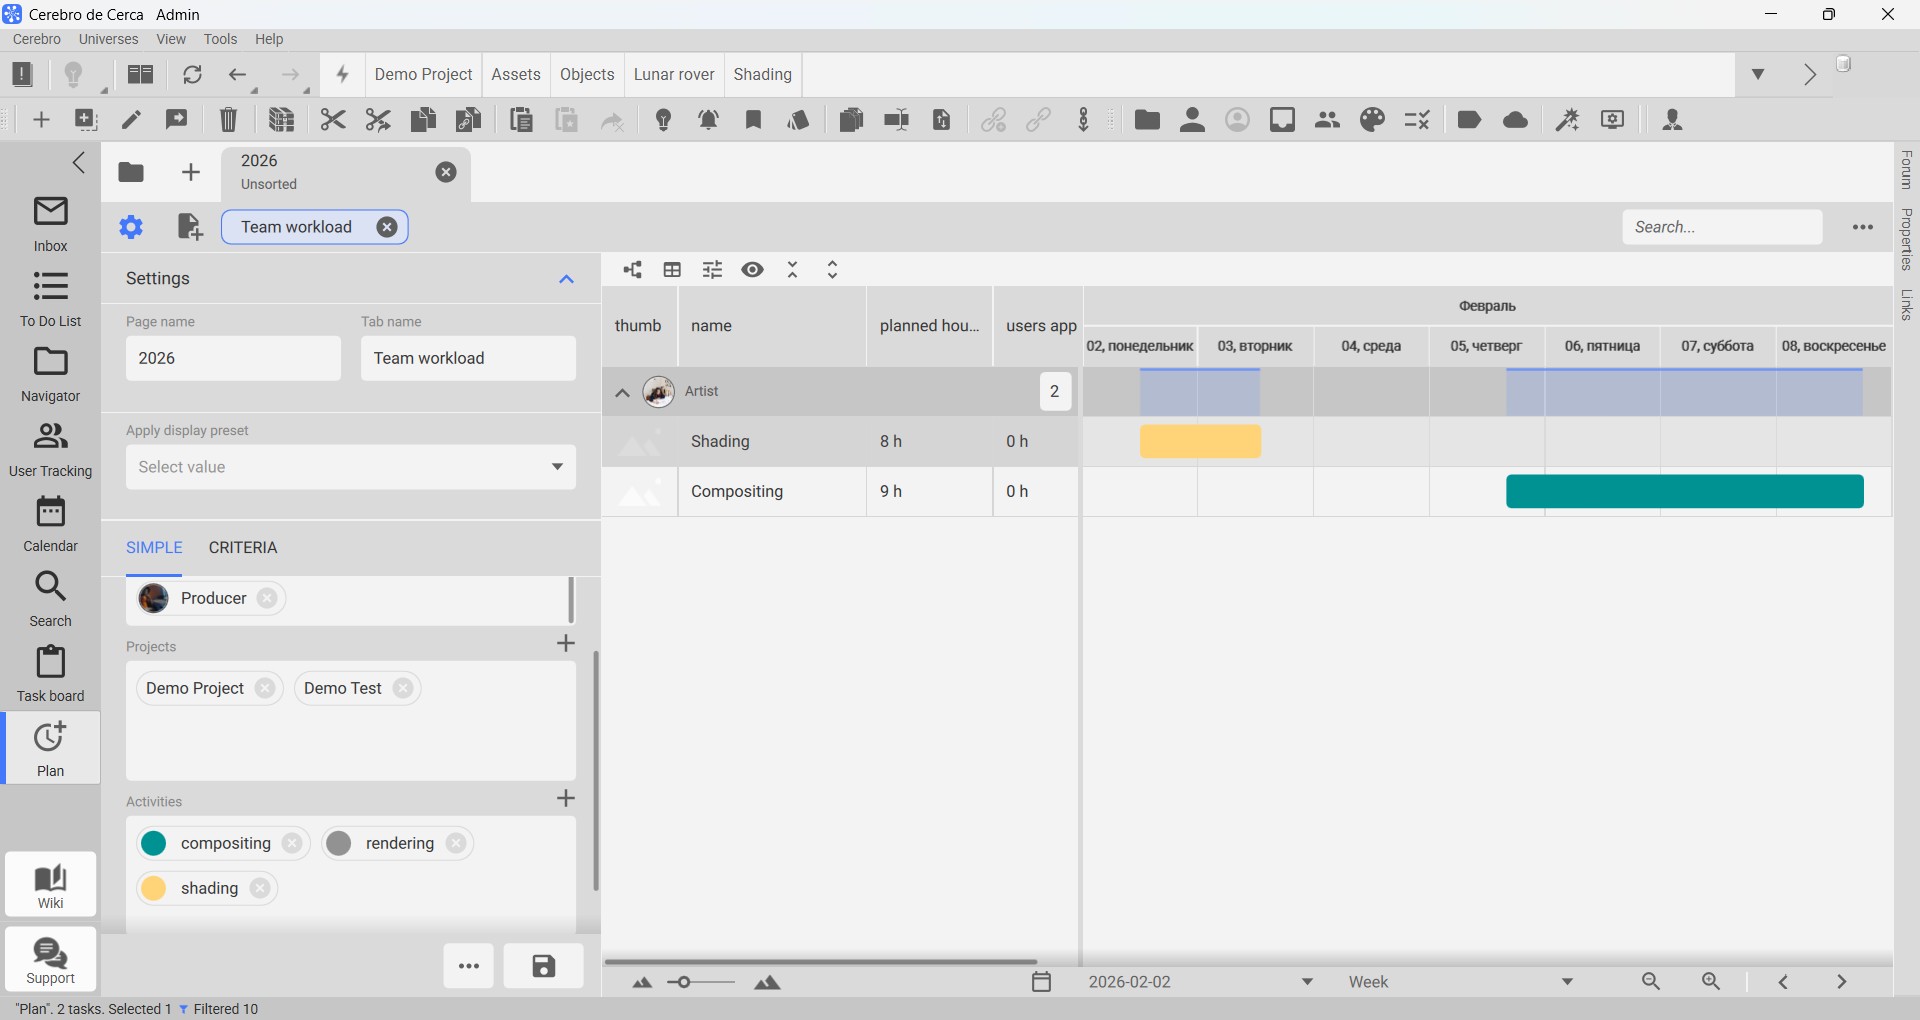
You can change the width of the windows by dragging the slider between them. The toolbar is located above the workspace and is also divided into two parts. Each window has its own set of elements.
¶ Selecting users and projects
When you open the tab for the first time, you will be prompted to select simple settings:
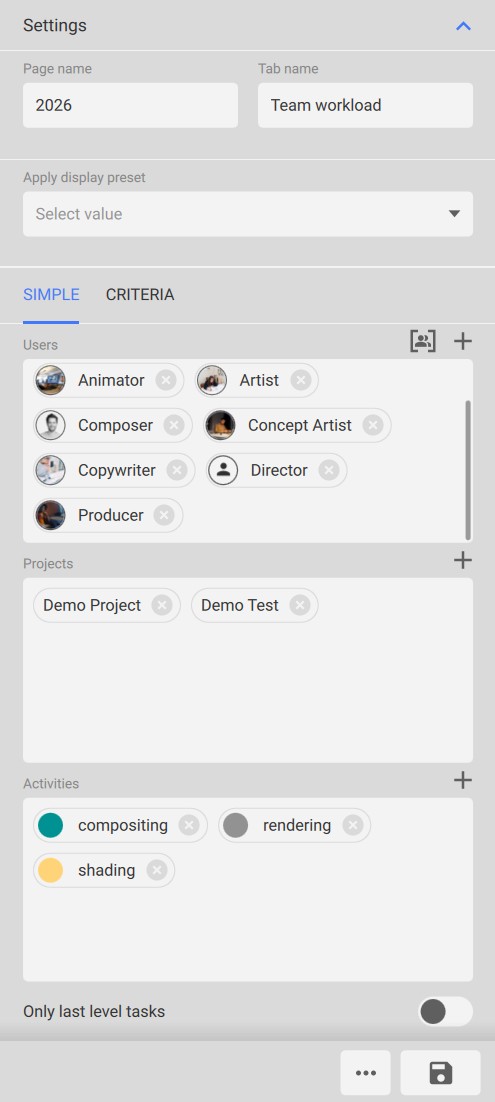
- Page name
- Tab name
- Display preset - a ready-made option for grouping and sorting data in the table.
- Users
- Projects
- Activities
- Displaying only last level tasks
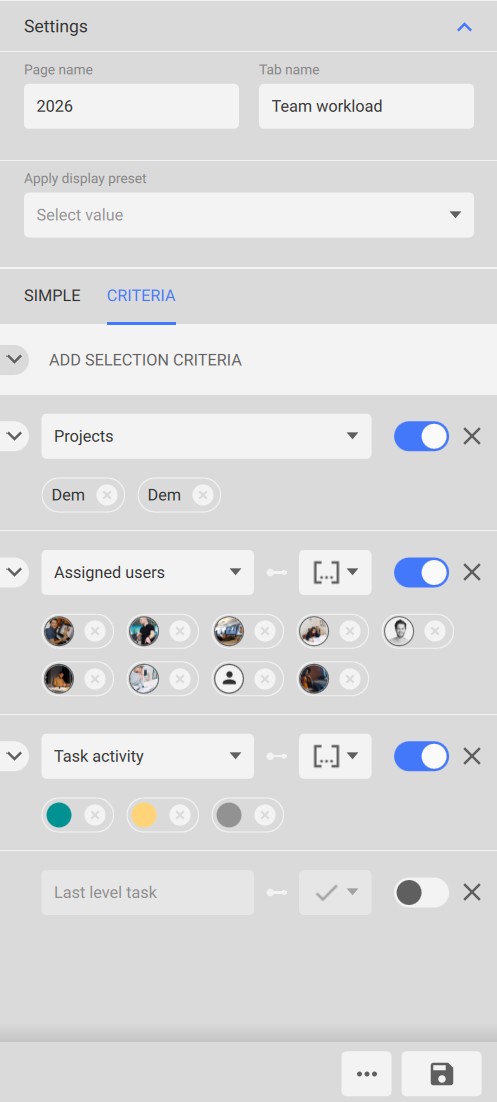
You can also drill down and add custom filter criteria on the Criteria tab.
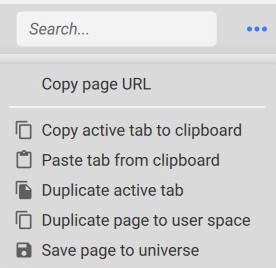
The buttons for copying, pasting, and duplicating a page or tab are located below the settings block. The same functions, plus copying the page URL, are duplicated above the calendar plan.
¶ Task list
The task list is shown in the form of a table. You can change the list of displayed columns by right-clicking on the table header or by using the button Edit columns above the list.
If there are tasks assigned to the user in the time interval selected on the calendar, an additional list, in which each row corresponds to a task, will open in the table under their name. The Name column contains the name of the task.
To change the fill color of tasks, click the eye icon above the task list — this is the Display Options button. Task highlighting is determined automatically: by activity type, current status, assigned priority, or the color markers you set manually.

¶ Work schedule (calendar)
The calendar displays tasks and reports as horizontal bars on the timeline.
Detailed task information can be viewed in the Forum, Properties and Links tabs to the right of the workspace.
The viewing interval is set in the lower-right corner: choose Always current period, pick any date in the calendar, or adjust the scale with the +/– buttons (from a week to a year). The left/right arrows in the same place shift the chart by exactly the selected period.

¶ Drop-down menu
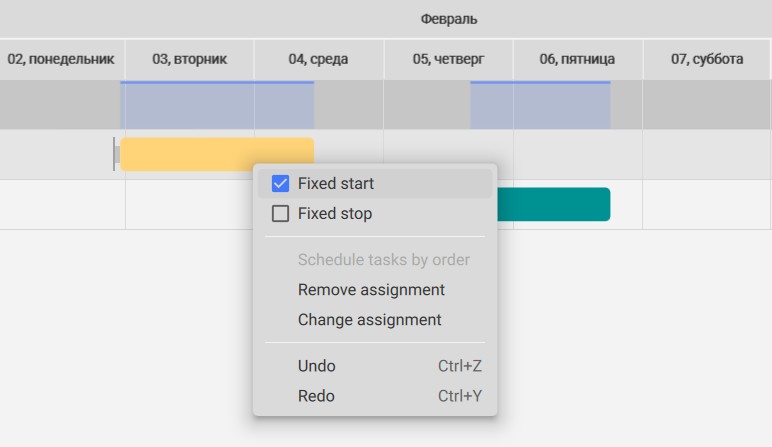
Right-clicking a task on the calendar plan opens a dropdown menu that allows you to assign a task executor and fix the completion deadlines. You can also Repeat or Undo actions on the timeline.
¶ Fixing start and end dates
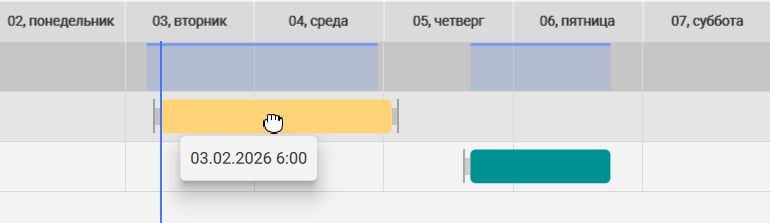
Task duration is determined by the Start and End parameters specified in Task Properties. You can adjust deadlines on the chart by dragging tasks or their borders along the timeline. Hovering over a task displays a brief summary and working hours data.
Task plans may have fixed start and end dates. This means that regardless of the task’s links and duration, the fixed dates will always stay the same.
To fix or unfix the start or end date, open the context menu and toggle the corresponding checkbox.
Note
When unfixing a date, be prepared for the dates to be recalculated based on the task’s links and duration.
¶ Scheduling tasks by order
You can schedule user tasks by order so that their deadlines don’t overlap.
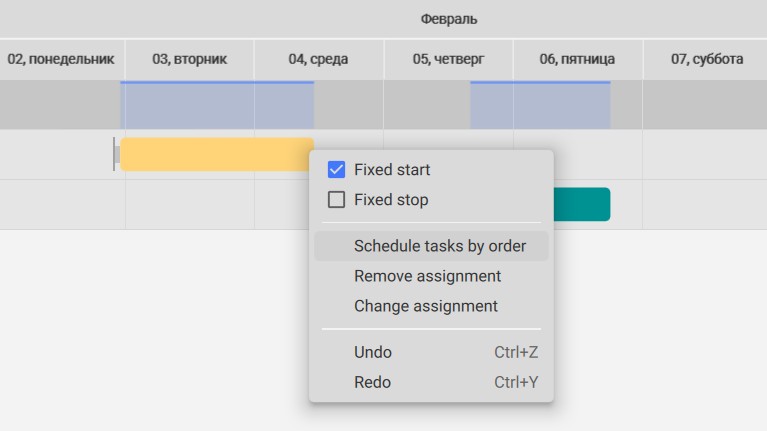
To do this, select the desired tasks and click To Schedule Tasks by Order in the context menu. The tasks will then be distributed along the timeline without overlapping. The order of placement depends on task order in the project.
You can visually view related tasks on the timeline by clicking the Links tab to the right of the calendar plan.
¶ Removing assignments
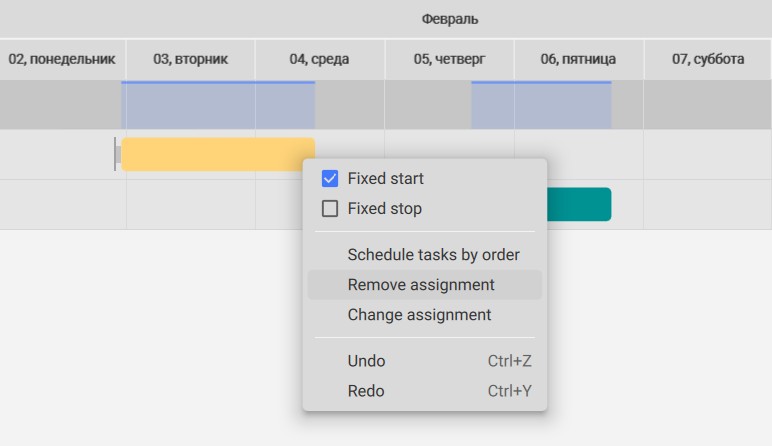
To remove an assignment (or several) from a user, select it and press the Delete key or open the context menu and click Remove Assignment.
¶ Reassigning tasks
To reassign a task from one user to another, right-click on it → Reassign → choose the new task assignee from the dropdown list of users.
¶ Moving tasks along the timeline
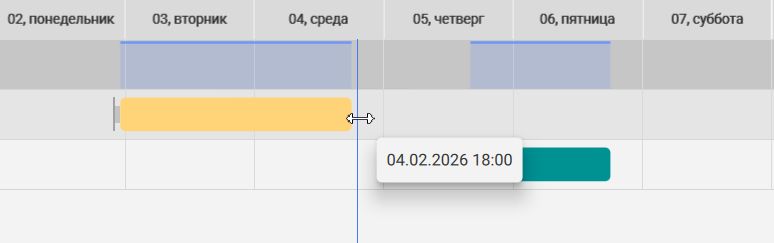
Task duration is determined by the Start or End parameters specified in the Task properties. Dates can be adjusted on the chart by dragging tasks or their boundaries along the timeline.
By moving the left and right boundaries of a task, you can independently change its start and end. Hover the mouse cursor over the desired boundary and drag it in the desired direction.
¶ Moving tasks along the timeline
When you move tasks along the timeline, the task start changes, while the end time changes according to the task's set duration.
Place the mouse cursor on a task, press and hold the left mouse button, and drag the task to the desired time.