¶ Comparing Media Files
By default, when the Compare button is off, the toolbar in the viewer shows version A of the current media file; this is the basic playback mode. In addition, you can compare two images.
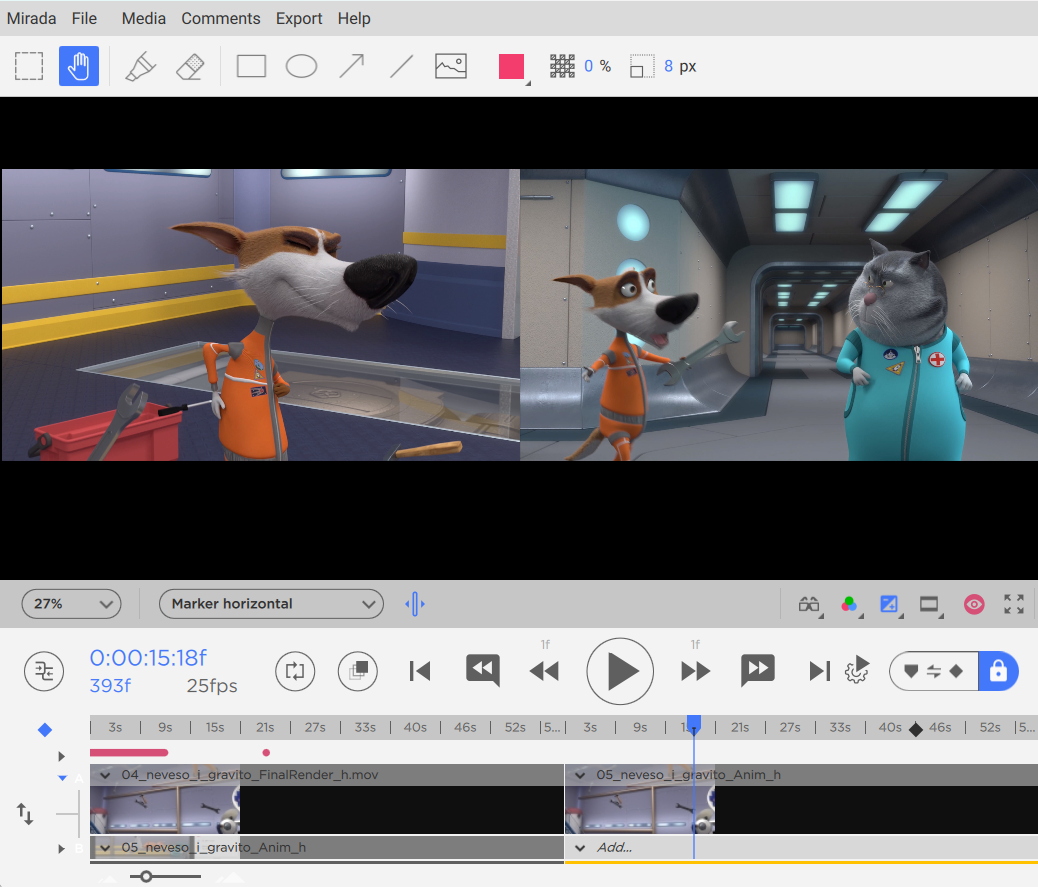
You can activate the comparison of two versions of a media file (A and B), or compare frames within the same version (in this case, a marker on the timeline is used).
In both cases, there are four options for comparing images:
- horizontal layout of frames;
- vertical layout of frames;
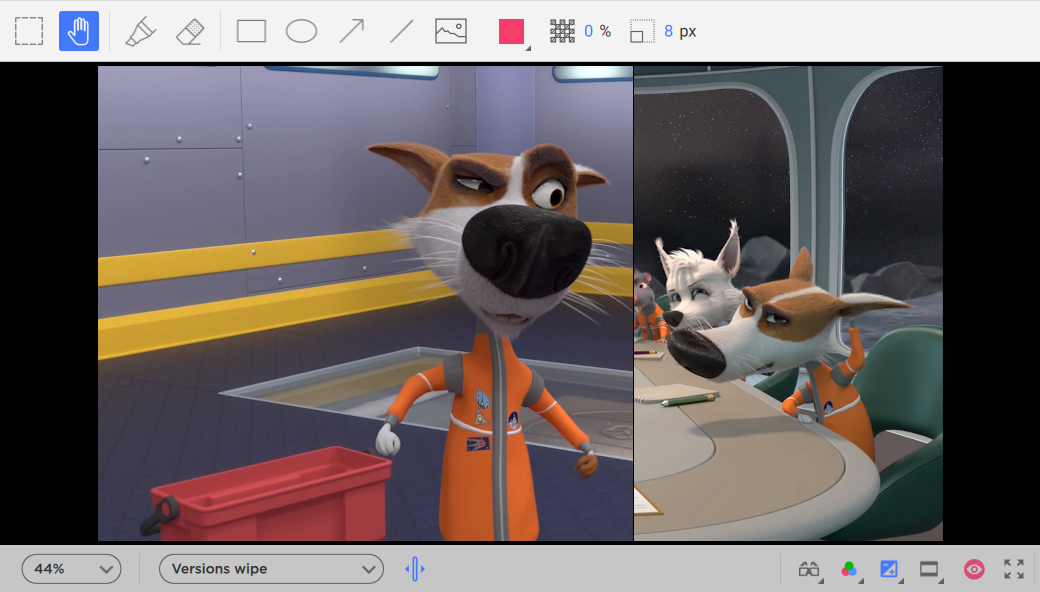
- a comparison in the Wipe mode, when frames superimpose on one another, and the viewer displays a vertical shutter; you can move the shutter using the mouse to perform pixel comparison of images;
- color overlay comparison allows you to compare video frames and images by highlighting the colour difference between the two images.

While in version comparison mode, you can specify versions A and B in the playlist or by using the drop-down lists at the bottom of the timeline. In addition, you can quickly swap the versions by clicking the button to the left of the timeline.
Note
Using the drop-down lists for versions A and B on the timeline, you can not only select the versions to be compared from the playlist, but also upload a new file as another version (similar to the version adding button on the Lista panel; see the “Playlist” section).
When comparing, you can use the marker to mark one of the frames on the timeline, and that frame will be fixed and displayed together with the current frame under the cursor. There is a button above the timeline that allows you to swap frames marked with the cursor and the marker.

You can also tie the marker and the cursor together; the cursor and the marker will move simultaneously when the frame is changed.