¶ Universes
The left side of the Universe tab of the Cerebro Administrator Panel displays the properties of the current universe:
- Name;
- Language;
- Allow to respond from E-mail;
- Allow to download files from E-mail;
- Allow to connect to external files from Email;
- Allow to delete project — the ability to permanently delete archived projects along with their files, without the possibility of recovery;
- Hide intermediate tasks' messages — hide messages in parent tasks from users with restricted roles;
- Created;
- Standard users — number of standard users and available licenses;
- E-mail users — number of e-mail users and available licenses;
- Active days — number of active days of the freelance package;
- Current number of tasks.
- Link to license payment page
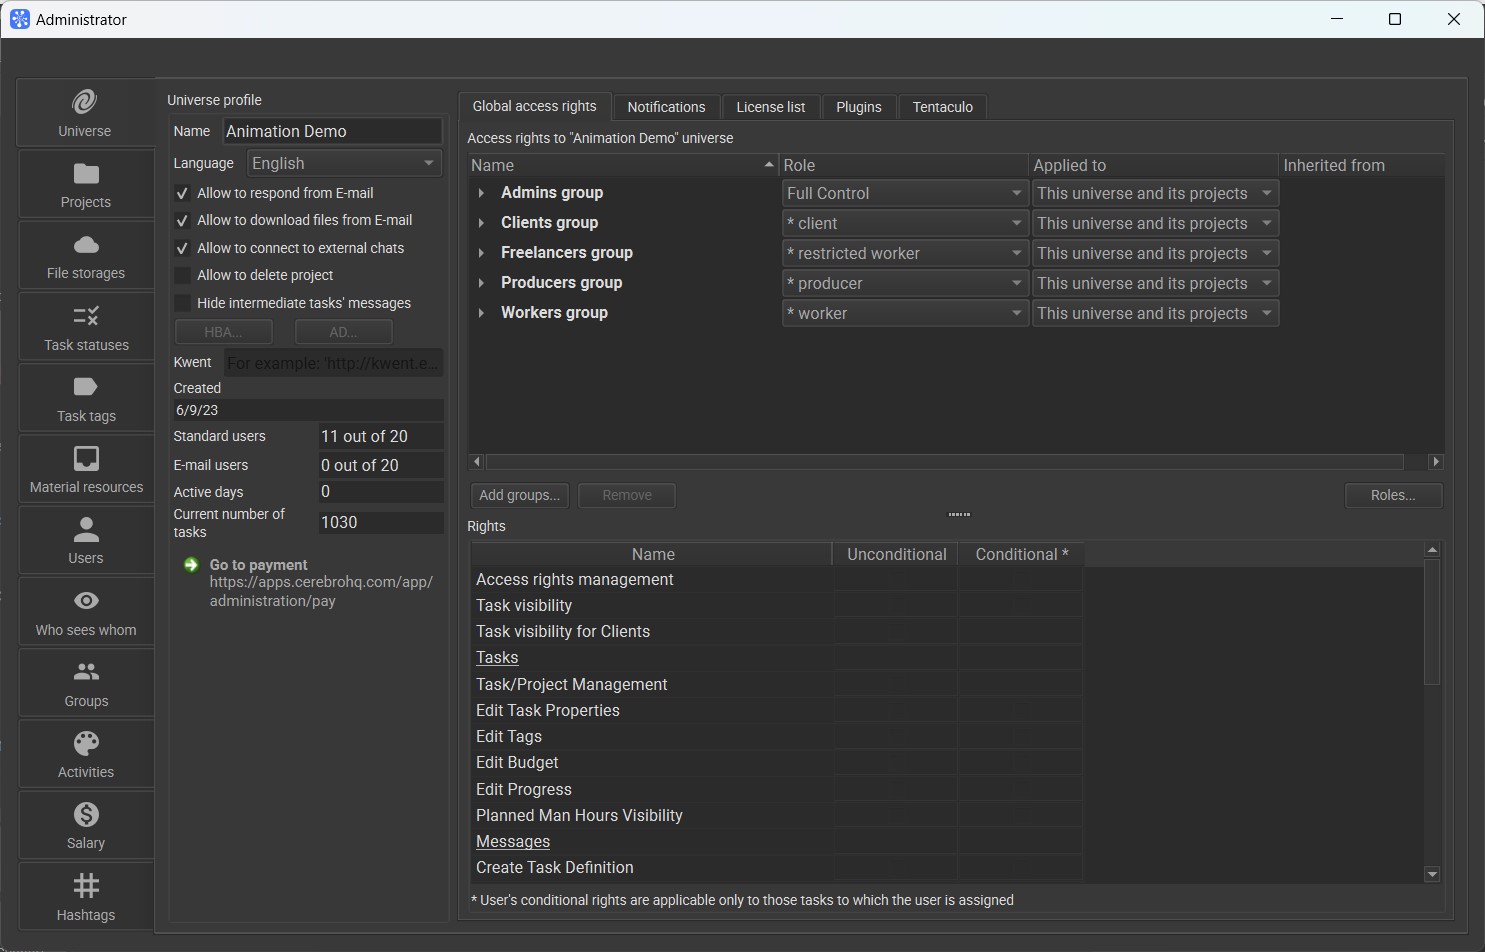
The right side of the window contains tabs:
- Global access rights;
- Notifications;
- License list;
- Plugins;
- Path.
¶ Global access rights
On the tab, you can see a standard interface to configure Cerebro access permissions, which you can use to set global access rights for groups/users, which will be used as default for all projects/tasks in the future.
¶ Notifications
This tab displays the interface for configuring notifications about changes in assigned projects and tasks in the universe.
¶ License list
On the License list tab, you can see a list of all recorded payments, their starting and ending dates, number of accounts, etc. The current status of a payment is color-coded — whether it is active, expired, or yet to start. Maximum amount of available accounts (standard or e-mail users), which is displayed on the left part of the window, is defined as total amount of users for all active payments.
In the case of installed Cerebro version (full installation on a local server), buttons for server Host ID acquisition and license file uploading are also displayed on the License list tab.
¶ Plugins
On the tab, you can install batch plugins and also create a new plugin using the New plugin button, specifying the following parameters:
- Name — the plug-in name, unique for the universe. The plug-in name must be identical to the Python package name;
- Description — the text description for the new plugin;
- Path to plugin folder — path to the Python package;
- Version — the initial version number;
- Version comment — the text description of the current plug-in version.
When you click the OK button, your plug-in is added to the database and becomes available for users to install.
To update the plug-in, if required, press the Update version… button. You simply need to select a new Python package and specify the new plug-in version number. If needed, you can enter the new text commentary for the plug-in version. After the plug-in update, the users will be prompted to install the new plug-in version.
The Revert to version… button can be used to install an older plug-in version.
Network plugins are not installed directly on the user’s computer and will be loaded by a Cerebro client when the network path specified is available to the user.
¶ Tentaculo
On the tab, you can include a module that is responsible for the file exchange while the team is working on projects and includes connectors for integration with various software products.